Our Creative Process
People are always curious about the process involved in making custom jewelry... I thought that I would share what it takes from start to finish. Below is a step by step tutorial explaining our creative process to make a 14K yellow gold Llama icon punch ring. We first started with a creative conversation about what the client had in mind...She wanted a 14K wide yellow gold band with six llamas, 3 facing one direction and 3 facing the other...the llama icons were to be in the front and along the sides only, none along the back...she also wanted a shiny finish with a hammered texture...1/2 inch wide.. ring size 9. Darrell then took all the information and using a special jewelry designing computer program, he designed the ring on the computer...We then sent her a computer rendering of the ring. Once we got the client's approval, he transferred the information to the mill and it was ready to be cut in wax...Darrell does all the incredible left-brained activity involved the designing on the computer...and I do all of the right brain activity...in that, I do all the handwork in metal. The perfect combination of left brain/right brain working together to create the final product!! There is a description of the process above each of the photos below...enjoy and if you have any questions or want to create something super special, please contact us for a creative chat!! Thanks!! 512 350-5060 or sgray53@gmail.com
Step One - We design the shape of the Llama icon and get the client's approval.

Step Two - We make a computer rendering of what the finished 14K yellow gold Llama icon ring will resemble and get customer approval.

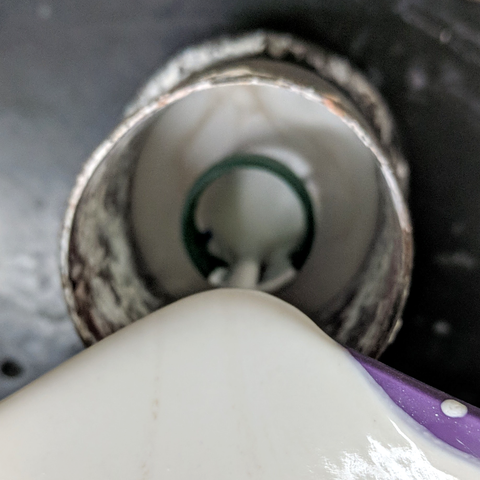
Step Three - Then we cut Llama icon ring in wax on our mill.

Step Four - Another view of the Llama ring wax model on the spindle.

Step Five - we sprue the wax model Llama ring on a rubber base to get it ready for casting.

Step Six - A flask is placed over the Llama ring wax model.

Step Seven - The investment, a plaster like solution, is poured over the Llama wax ring model.
Step Eight - Using a special machine, a vacuuming process removes all the air bubbles from the flasks.

Step Nine - Two hours later the investment has cured and the flasks are inserted into an oven for the burn out cycle. This is when the wax is burnt out leaving a cavity where the wax had been ~ thus the term Lost Wax Process.

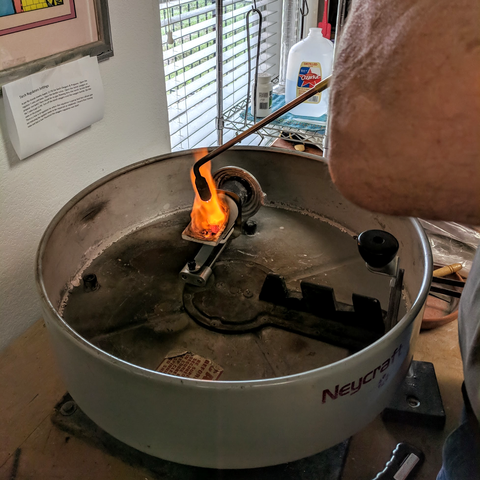
Step Ten - After a 12 hour burn out cycle, the metal is heated to get it ready for the centrifuge to sling the molten 14K gold metal into the empty Llama ring cavity of the flask ~ where the wax model had once been.

Step Eleven - This is the rough Llama ring after it has been cast in 14K gold.

Step Twelve - After a quick polishing, a ball peen hammer is used to hand texture the Llama ring to the proper look and size.

Step Thirteen - The finishing process include: Tripoli polishing compound, then final shine with red rouge on the buffing wheel.


Step Fourteen - Front and side views of finished Llama ring.

Side view of Llama ring.

Step Fifteen - The beautiful finished 14K yellow gold Llama icon punch ring...ready to ship to the client! Ta da!!
